A Traffic Light
Even in a country with as perfect a public transit system as Switzerland, there are good and bad times to leave the house for a tram. Recently I had a friend in town and we decided to do a project day - building a little device to solve this problem seemed like a feasible afternoon's work. The idea was simple - a little traffic light that lived next to the door which showed green if it was a good time to leave for a tram, orange if it was possible to make the tram if you hustled, and red if it was best to wait.
This sort of project is fun - some blinkenlights that serve a tangible purpose, and provide ambient information. It is an excuse to play with some microcontrollers, soldering and basic automation coding.
And spoiler, we succeeded in building the traffic light in an easy afternoon of work.
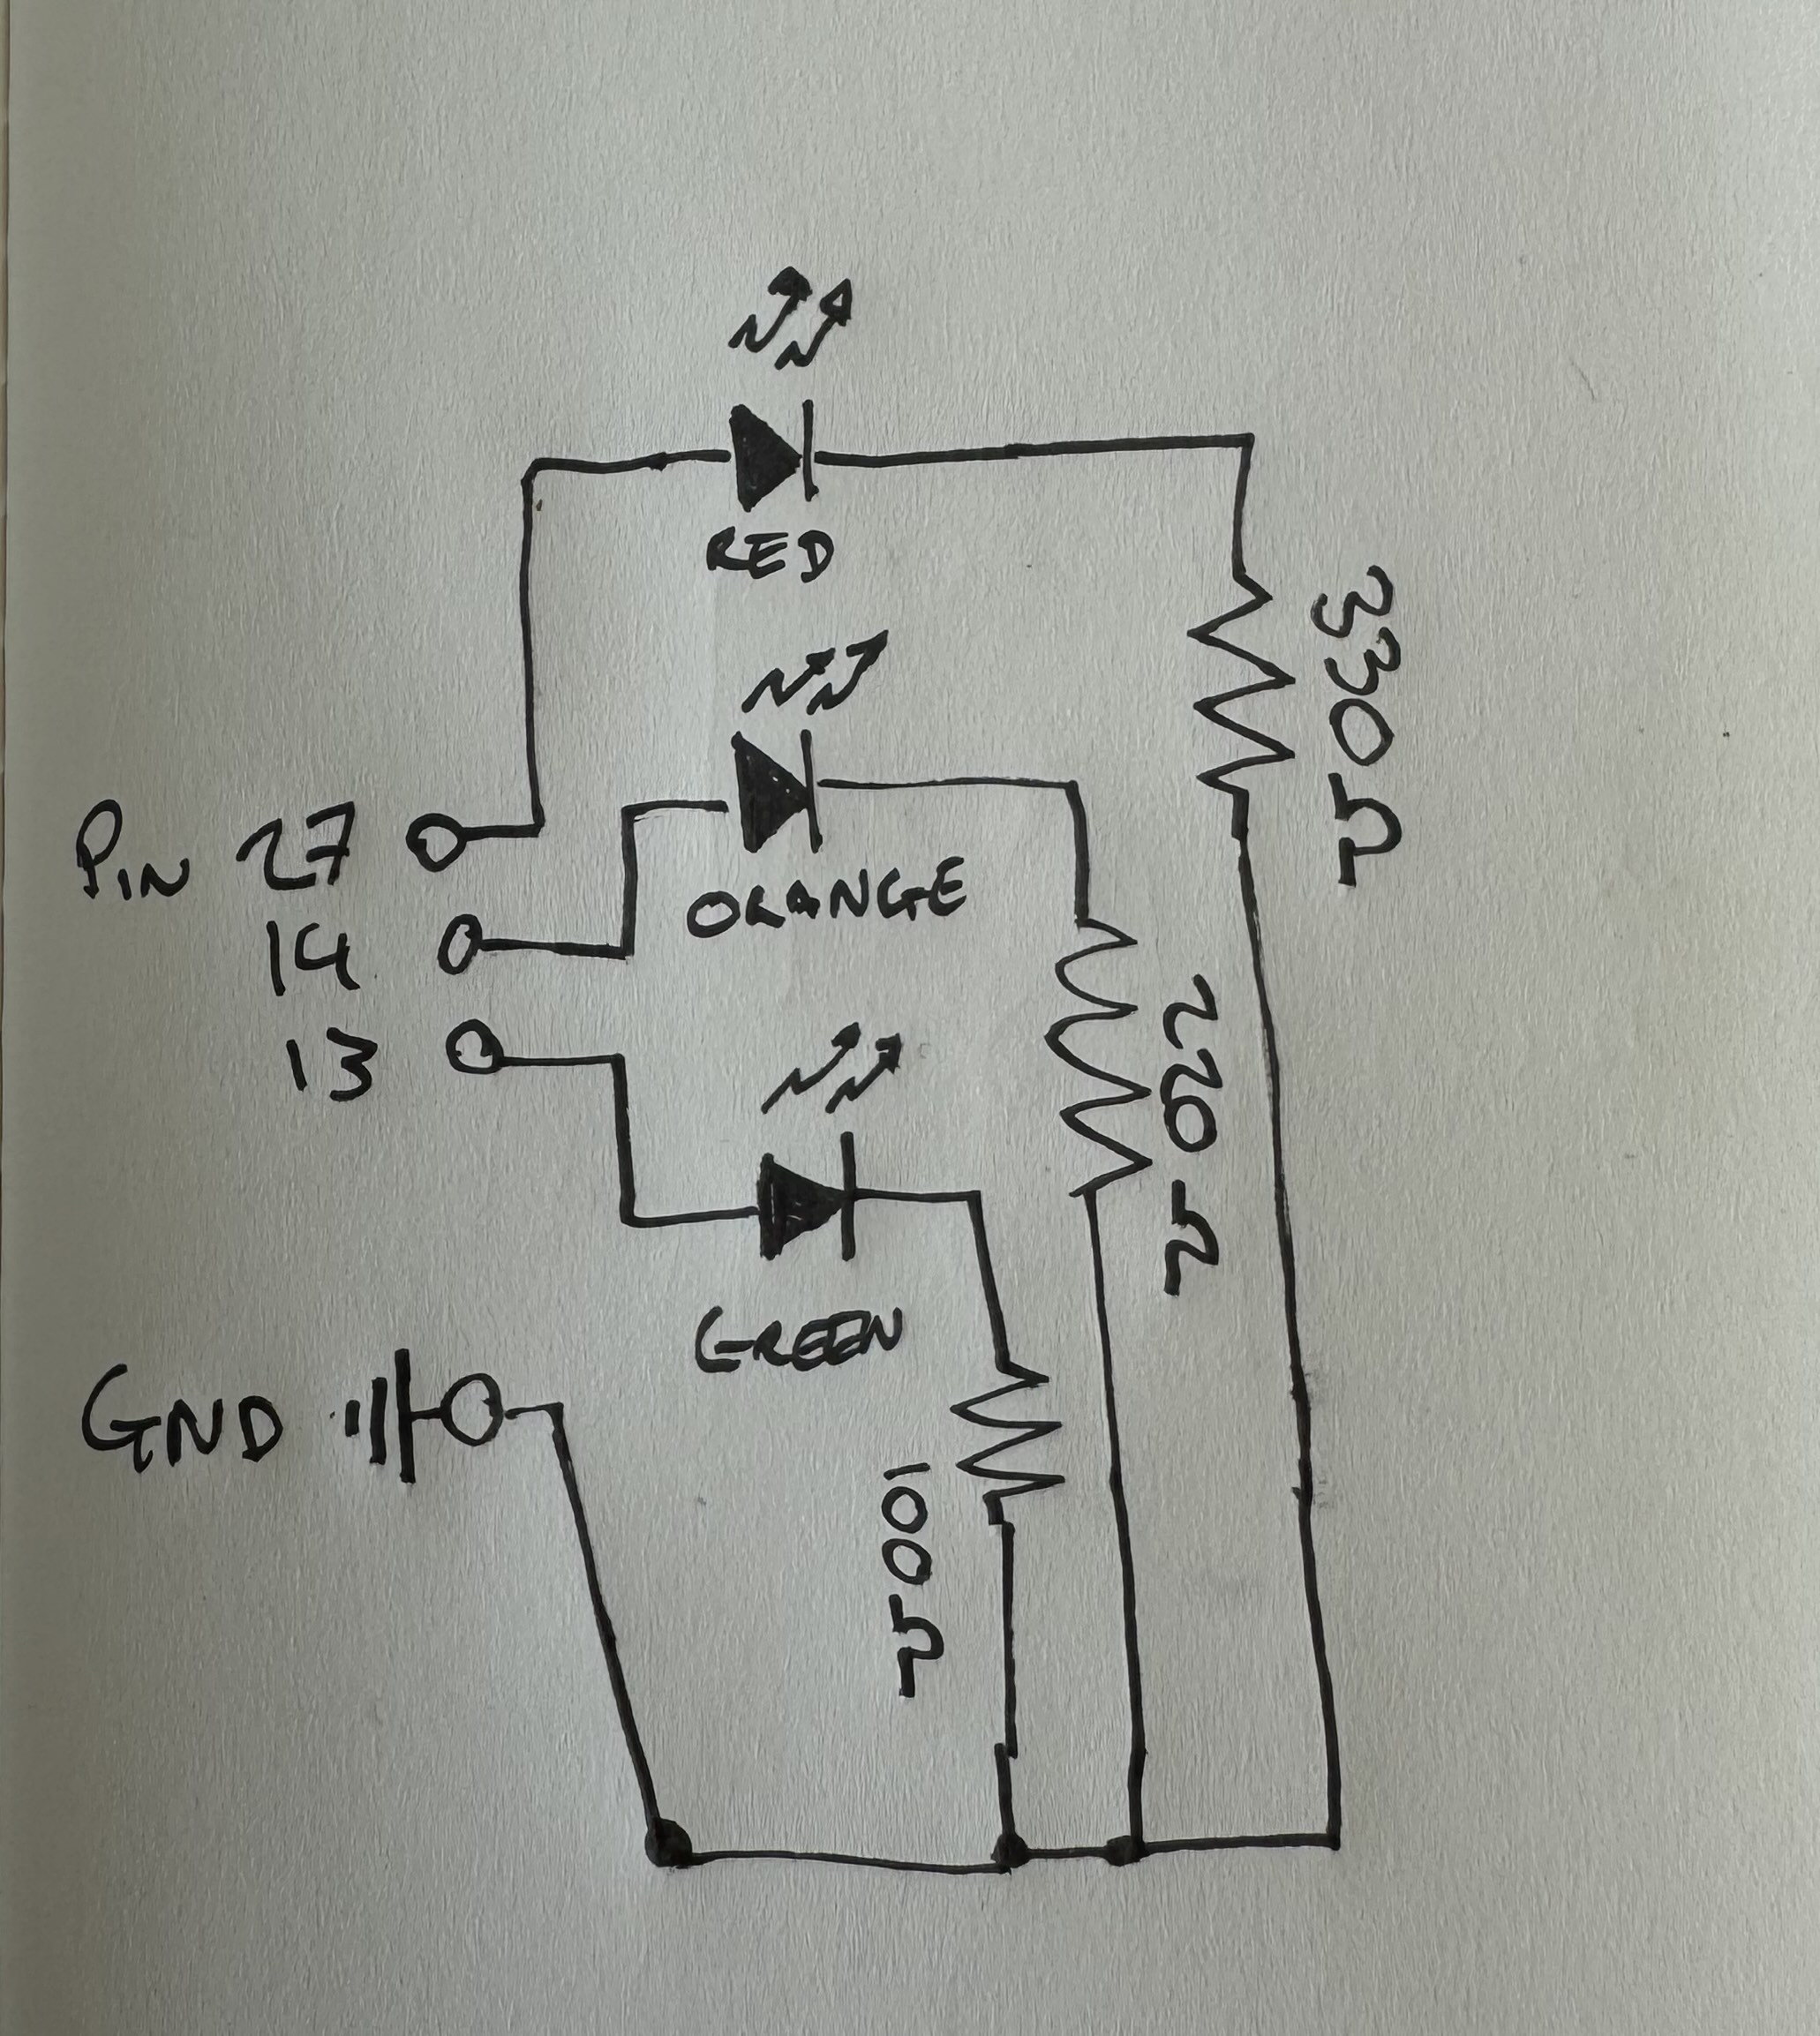
The hardware we chose was very simple - an ESP32 dev board, 3 LEDs and 3 resistors. This was mainly dictated by the large pile of excess ESP32 boards I had lying around from previous projects, but the wifi capabilities, and the existence of the ESPHome project, made this the perfect starting point. After some very minimal breadboarding, which mainly involved working out which ESP32 pins would work for GPIO, and some experimenting with resistor values to get bright LED lights, we had the following circuit design:
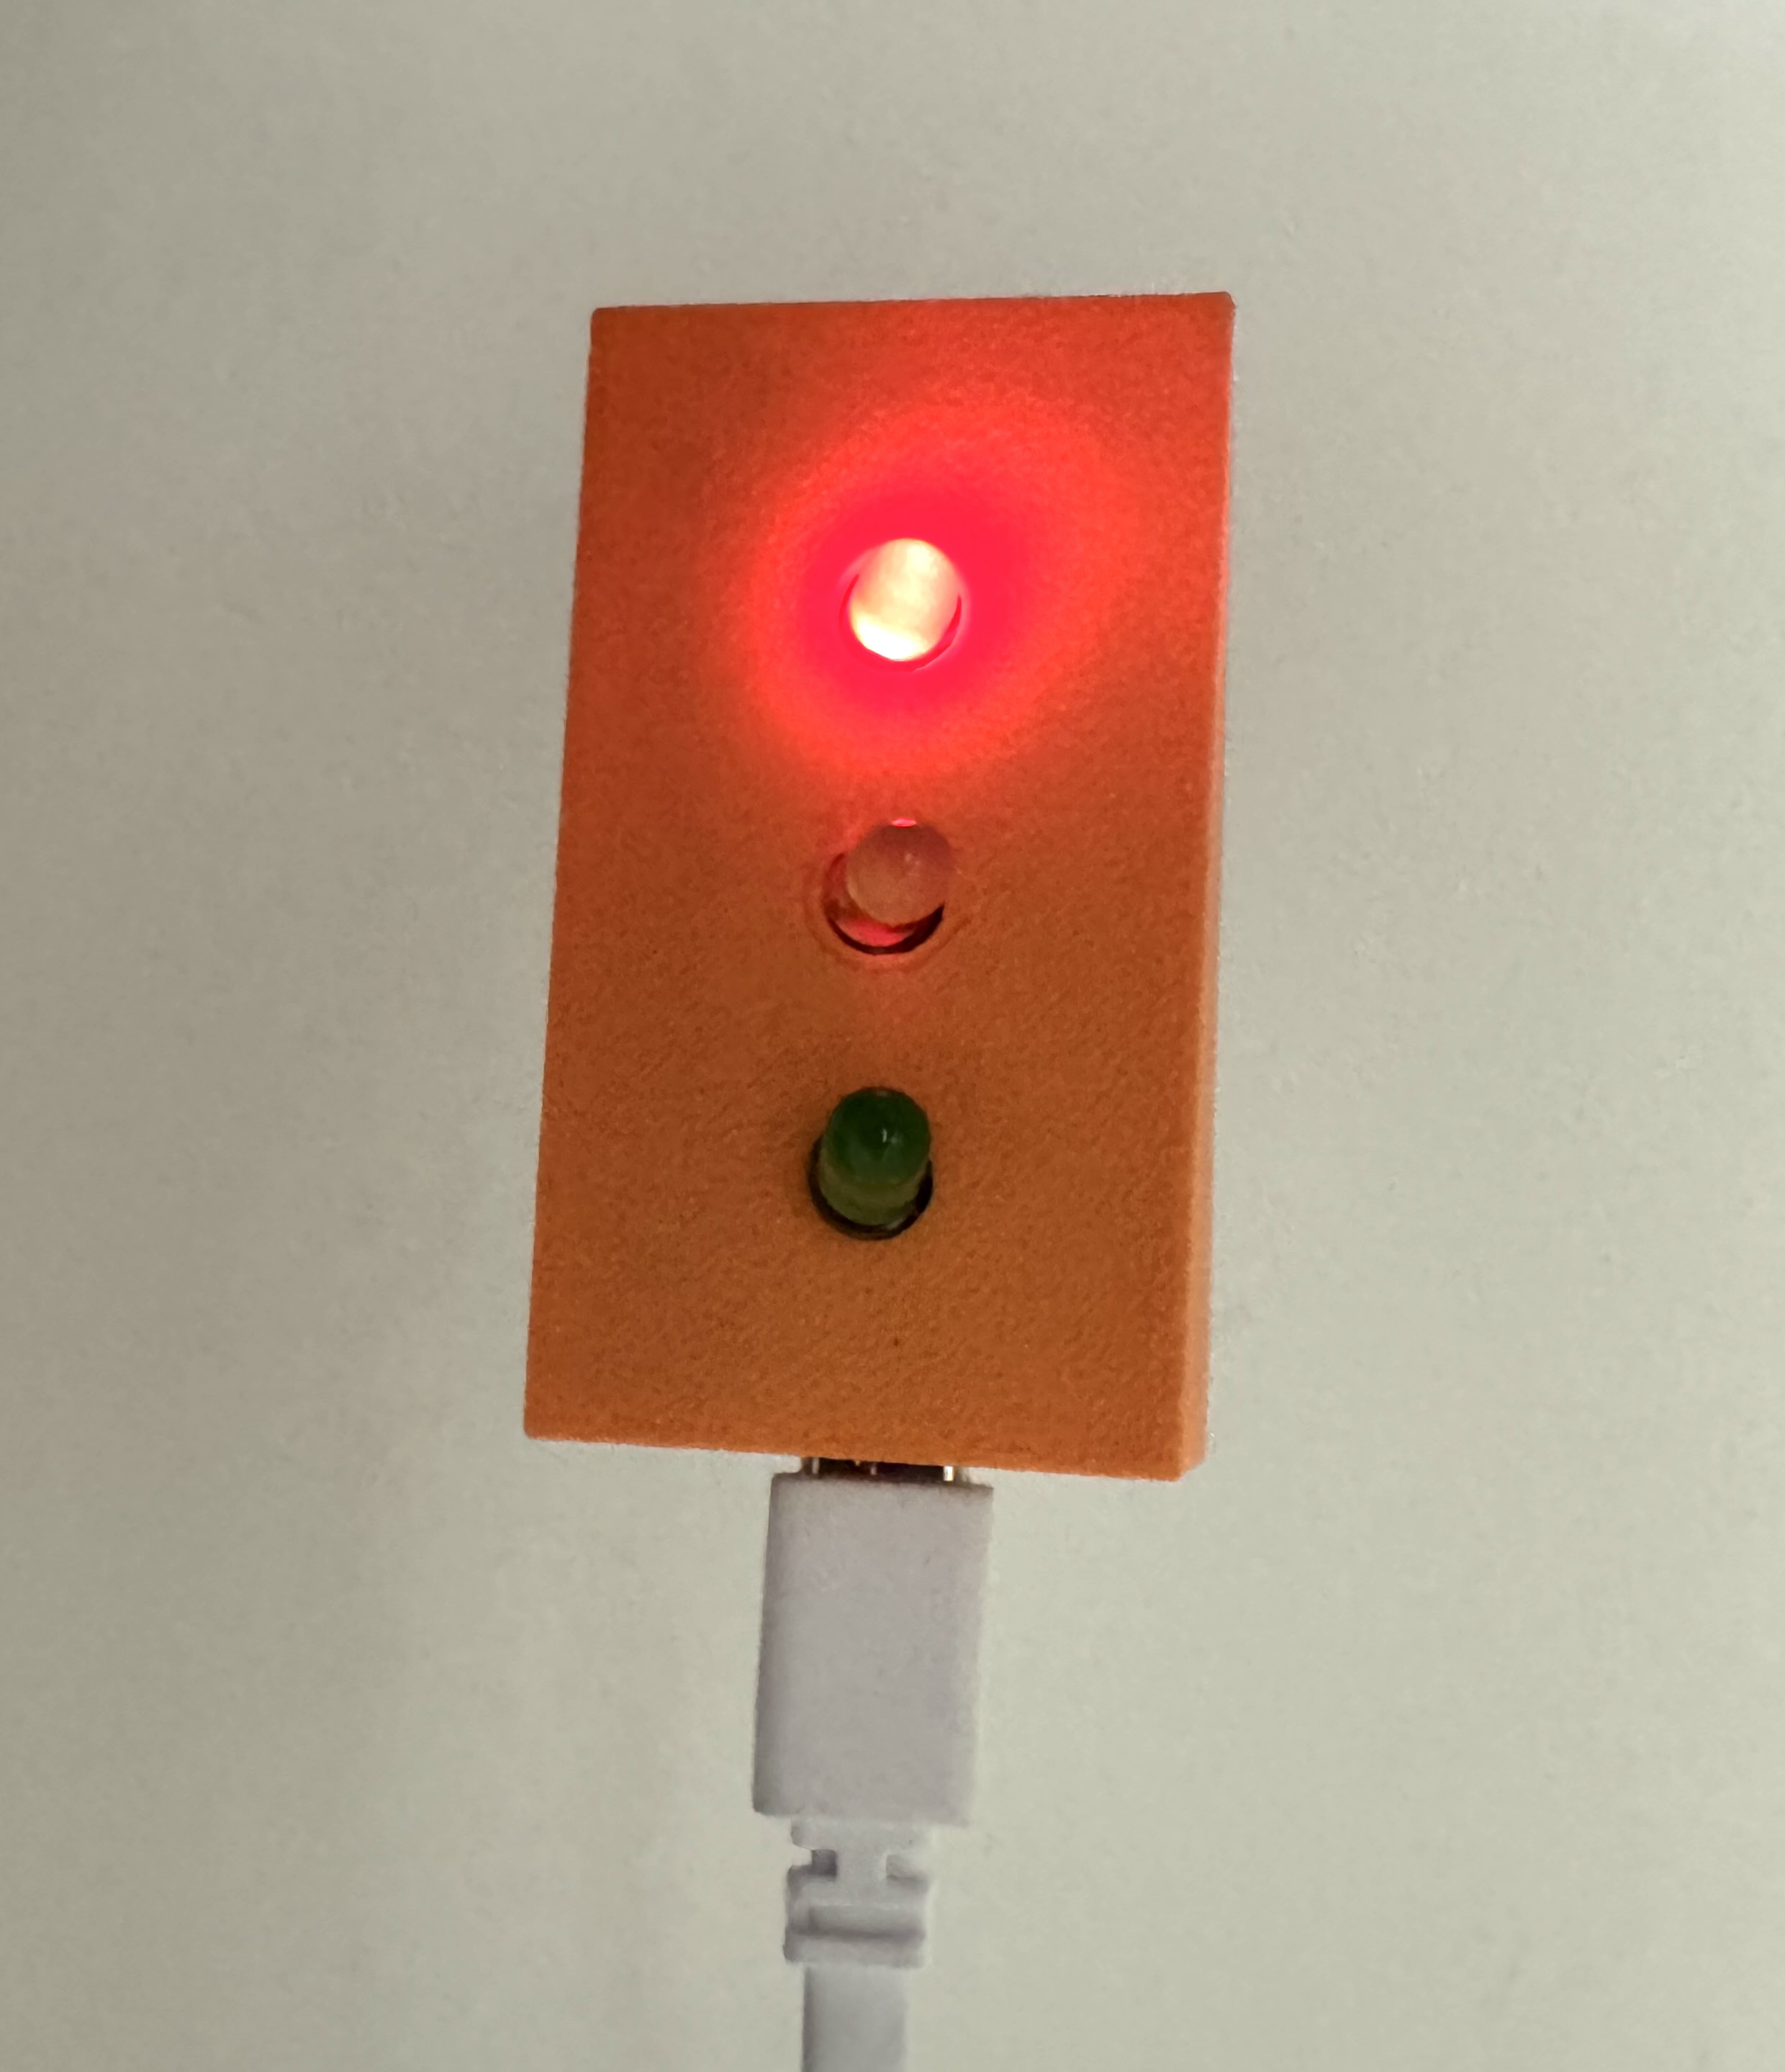
With some frankly heineous soldering, we were able to fit the circuit on the back of the ESP32 devboard, which meant that the entire traffic light was defined by the form factor of the dev-board. After adding a 3D printed case to hide the shame of the soldering, the hardware was complete.
Here's the SCAD and STL file for the case:
$fn=30;
width=29;
length=53;
depth=10;
thickness=1;
rad=3;

difference(){
  cube([width+2*thickness, length + 2*thickness, depth]);
  translate([thickness, thickness, thickness]) cube([width, length, depth]);
  translate([width/2+rad/2, length/4,-1]) cylinder(r=rad, h=3*thickness);
  translate([width/2+rad/2, 2*length/4, -1]) cylinder(r=rad, h=3*thickness);
  translate([width/2+rad/2, 3*length/4, -1]) cylinder(r=rad, h=3*thickness);
  translate([thickness*2, -thickness, thickness]) cube([width-2*thickness, thickness*3, depth]);
}
The next step was to flash the ESP32 with ESPHome and add a little configuration that allowed the LED's to respond to MQTT messages from Home Assistant. This was also pretty trivial, and was easy to test by manually toggling the 'switches' for each LED from Home Assistant. The only thing worth noting is that each 'switch' needs a 'name' in order to be picked up by Home Assistant - this isn't obvious unless you RTFM.
Here's the configuration:
esphome
nametraffic-lights
friendly_nametraffic-lights
esp32
boardesp32dev
framework
typearduino
logger
switch
platformgpio
pin27
idred
nameRed
platformgpio
pin14
idorange
nameOrange
platformgpio
pin13
idgreen
nameGreen
# Enable Home Assistant API
api
encryption
key"YOUR KEY HERE"
ota
password"YOUR PASSWORD HERE"
wifi
# Your wifi details here
Boom, now we have a traffic light controlled from Home Assistant.
The next step is to get the data for when the tram arrives, and write a little automation to actually turn the lights on and off. There's already an extension that adds the Swiss Transport data to Home Assistant, so all we actually need to do is to write the automation. This turned out to be the hardest part of the whole project, as, although Home Assistant includes 'no-code' automation creation, what 'no-code' means in this context is 'turn a simple 3 line function into 20 lines of repetitive YAML'.
Here is the monstrosity that we needed:
aliastraffic light
description""
trigger
platformtime_pattern
seconds/10
action
service-
switch.turn_'on' if
(as_timestamp(states('sensor.my_station')) >=
as_timestamp(now() + timedelta(seconds=180)) and
as_timestamp(states('sensor.my_station')) <=
as_timestamp(now() + timedelta(seconds=300))) or
(as_timestamp(states('sensor.my_station')) >=
as_timestamp(now() + timedelta(seconds=180)) and
as_timestamp(states('sensor.my_station')) <=
as_timestamp(now() + timedelta(seconds=300))) else 'off'
target
entity_idswitch.traffic_lights_green_2
service-
switch.turn_'on' if
(as_timestamp(states('sensor.my_station')) >=
as_timestamp(now() + timedelta(seconds=120)) and
as_timestamp(states('sensor.my_station')) <=
as_timestamp(now() + timedelta(seconds=180))) or
(as_timestamp(states('sensor.my_station')) >=
as_timestamp(now() + timedelta(seconds=120)) and
as_timestamp(states('sensor.my_station')) <=
as_timestamp(now() + timedelta(seconds=180))) else 'off'
target
entity_idswitch.traffic_lights_orange_2
service-
switch.turn_'on' if
(as_timestamp(states('sensor.my_station')) <
as_timestamp(now() + timedelta(seconds=120)) or
as_timestamp(states('sensor.my_station')) >
as_timestamp(now() + timedelta(seconds=300))) and
(as_timestamp(states('sensor.my_station')) <
as_timestamp(now() + timedelta(seconds=120)) or
as_timestamp(states('sensor.my_station')) >
as_timestamp(now() + timedelta(seconds=300))) else 'off'
target
entity_idswitch.traffic_lights_red_2
modesingle
You may of course need to tweak the values of the timedeltas to match your lived experience of walking to the tram stop.
But that's it - all you need to make a traffic light that tells you when to leave for the tram.
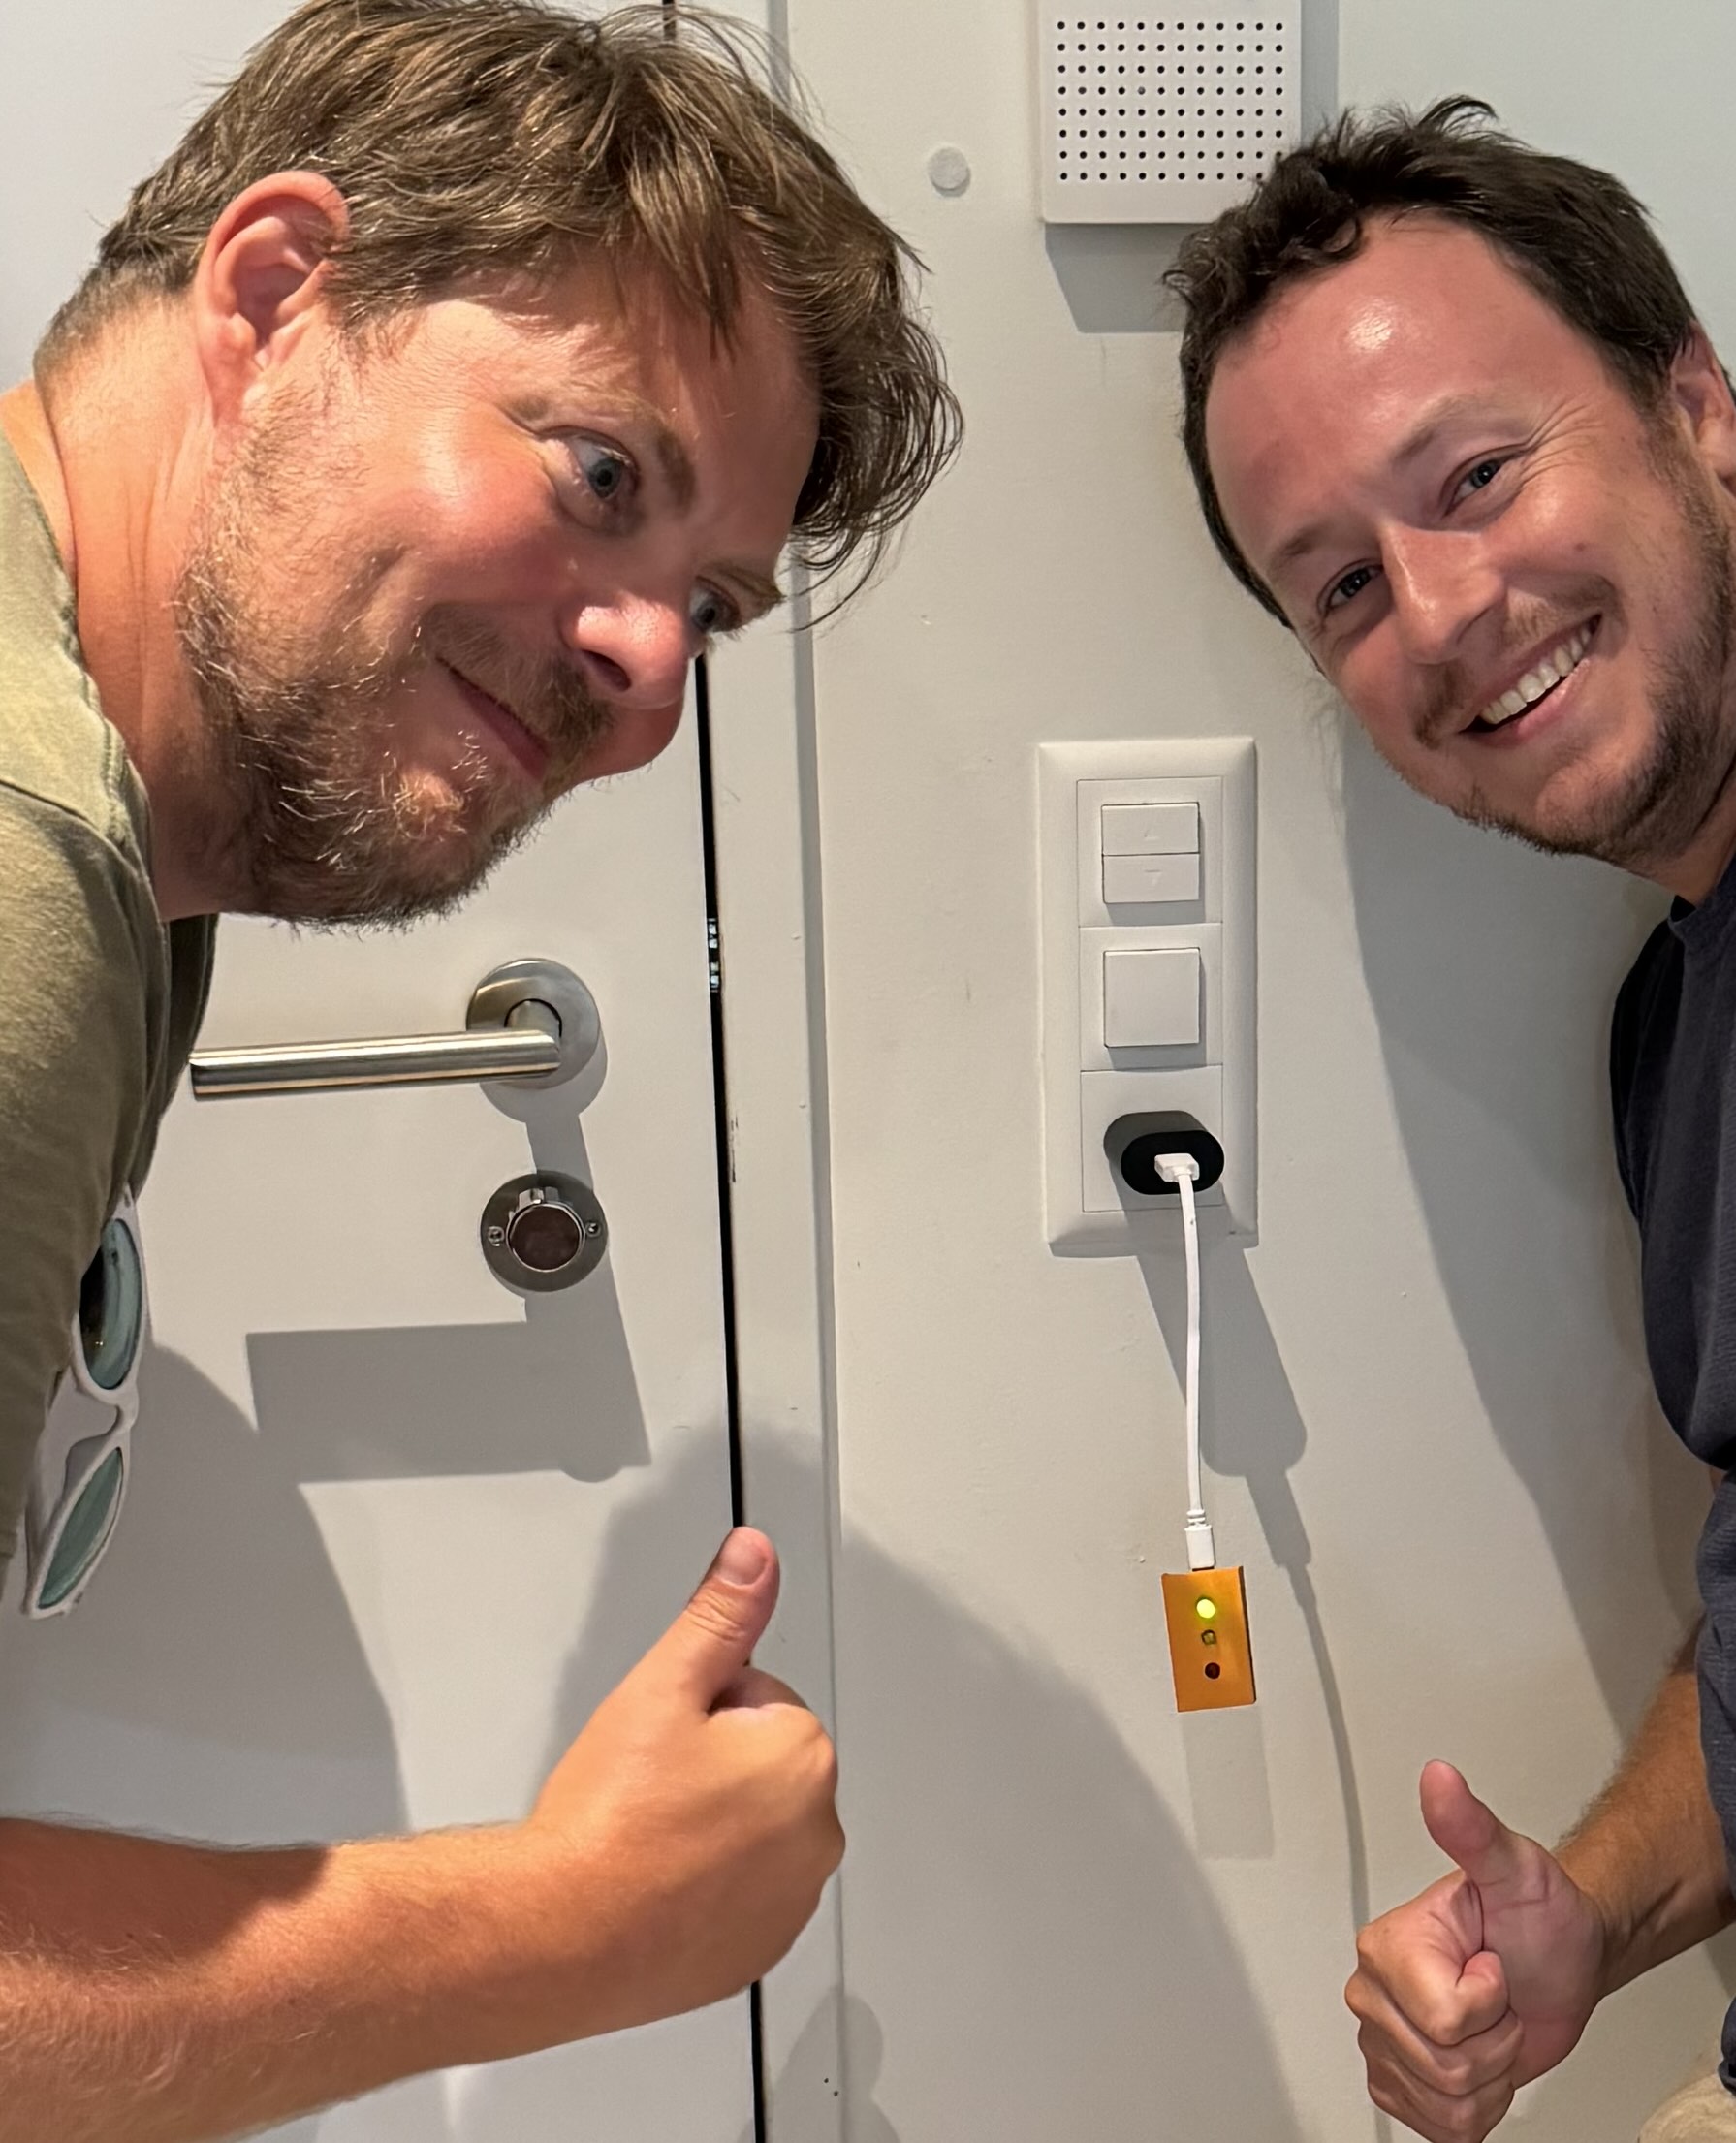
Many thanks to Tyler for the fun afternoon project.